

UTV Stereo Dual Battery Kit Buyer’s Guide: Keep the Music Playing, Keep the Engine Starting
There is nothing quite like the feeling of hitting the dunes or the deep woods with a high-end sound system blasting your favorite tracks. However, that excitement can quickly turn into a long, silent walk back to camp if your stereo drains your starting battery.
A UTV Stereo Dual Battery Kit is the ultimate insurance policy for your electrical system. By using a smart isolator, you can run your lights, winches, and subwoofers off a secondary “house” battery while keeping your starting battery topped off and ready to turn the engine over. Best of all? You don’t need to be a certified mechanic to install one. Here is how to get it done.
Tools and Materials You’ll Need
 Before diving in, gather the essentials:
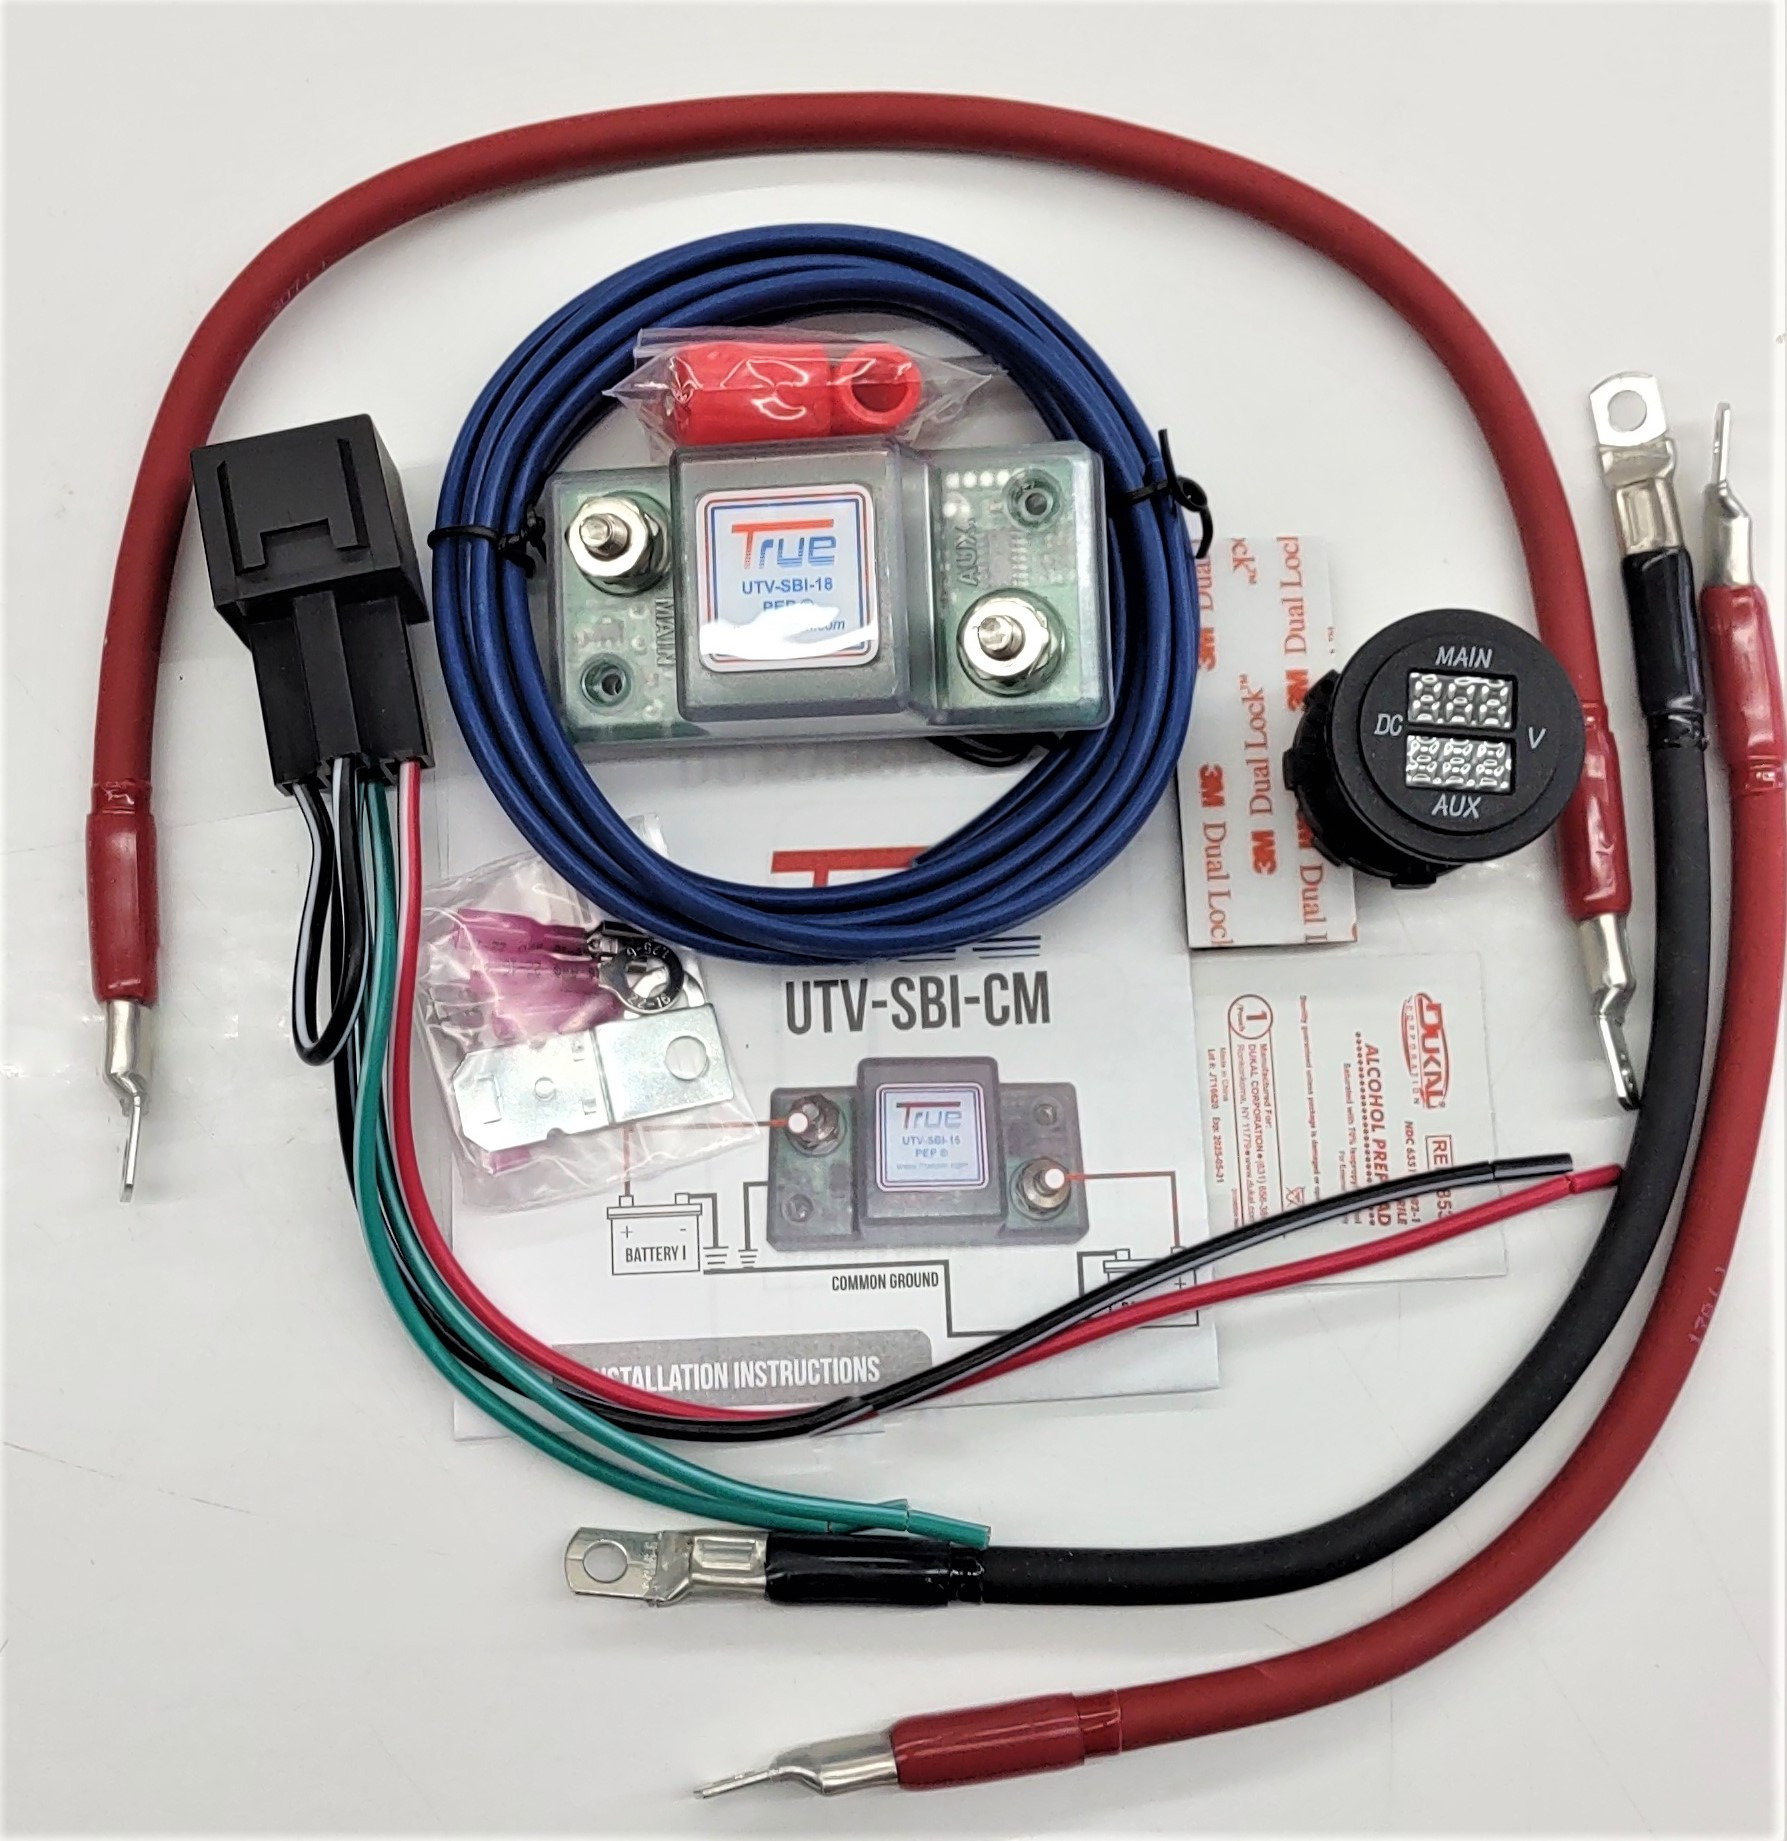
- UTV Stereo Dual Battery Kit (includes True® smart battery isolator, wiring, and mounts)
- Secondary battery (AGM or lithium, depending on your kit)
- Basic hand tools: wrenches, socket set, screwdrivers
- Wire cutters and crimpers
- Zip ties or cable clamps for clean routing
- Safety gear: gloves and eye protection
Access the Battery Compartment
Most UTVs, such as the Can-Am Maverick X3 or Polaris RZR, house the battery under the seat or beneath a center console panel. Remove the seat and the protective plastic covers to expose the factory battery. Pro Tip: Disconnect the factory negative (-) terminal first to prevent any accidental shorts while you work.
Select a secure, ventilated mounting location for the auxiliary battery. Common spots include under the seat, behind the dash, or in a factory battery tray. The battery must be firmly mounted to withstand vibration and rough terrain. Proper placement improves safety and keeps wiring neat.
Install the Secondary Battery Tray
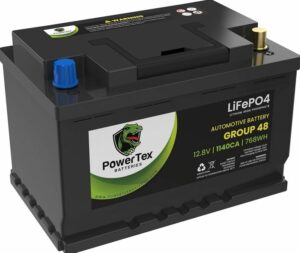
Clear out any debris from the mounting area. Most dual battery kits include a custom-fit bracket that nests right next to the original battery. Bolt the tray into the factory frame holes. Once the tray is secure, drop in your secondary battery (ideally a high-vibration AGM or Lithium-ion unit) and secure it with the provided hold-down strap.
Tighten all hardware and double-check alignment so the battery sits level. A stable mount is critical for both safety and performance.
Place and Secure the Secondary Battery (Auxiliary)
Set the battery into the mount and fasten it with straps or clamps. Make sure the terminals are accessible for wiring. AGM batteries should remain upright, while lithium batteries offer more flexibility but still require secure placement.
Mount the True Smart Battery Isolator using its Wiring Kit
The “brain” of your system is the Smart Battery Isolator (SBI). This device monitors the voltage of your starting battery. When it sees the stator is charging (usually above $13.3 V), it connects the batteries together. When you turn the engine off and the voltage drops, it “isolates” them.
- Mount the isolator to a flat surface near the batteries using self-tapping screws.
- Ensure it is away from extreme heat sources like the exhaust manifold.
- Follow the dual battery kit installation diagram carefully for orientation.
A smart isolator automatically charges both batteries when the engine is running and separates them when the engine is off—ensuring your stereo only draws from the auxiliary battery.
Set the battery into the mount and fasten it with straps or clamps. Make sure the terminals are accessible for wiring. AGM batteries should remain upright, while lithium batteries offer more flexibility but still require secure placement.
The Wiring (The “Parallel” Connection)
This is where the magic happens. Follow this sequence:
- Positive Link: Connect a red power cable from the Positive (+) terminal of the starting battery to one side of the isolator.
- The Bridge: Connect another red cable from the other side of the isolator to the Positive (+) terminal of the secondary battery.
- Grounding: Run a heavy-duty black ground cable from the Negative (-) terminal of the secondary battery directly to the Negative (-) terminal of the starting battery, or to a clean, unpainted spot on the vehicle’s chassis.
- To guide you with wiring diagram for battery isolator

Wire the UTV Stereo to the Auxiliary Battery
To fully protect your starting battery, connect your UTV stereo system directly to the auxiliary battery or a fused accessory block powered by it. This ensures your stereo, amplifiers, and speakers draw power only from the secondary battery.
Transfer All Your Accessories to Auxiliary Battery
 To get the full benefit of the kit, you must move your stereo and light bar wires. Remove the positive leads of your accessories from the starting battery and move them to the Positive (+) terminal of your secondary battery. Now, your stereo can only pull power from the secondary source.
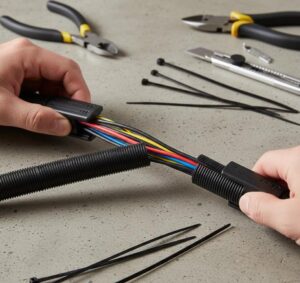
Secure and Protect All Wiring
Route all wiring away from sharp edges, heat sources, and moving components. Use wire loom and zip ties to secure cables. Clean, protected wiring improves reliability and prevents electrical failures on the trail.
Test the Dual Battery System
Start the UTV and confirm both batteries are charging. Turn the engine off and turn on your stereo, lights, or winch to confirm everything works without draining your ignition battery. If the music plays without affecting the starting battery, your UTV stereo dual battery kit installation is complete. Furthermore, you should see a light on the True battery isolator once the engine is running, signaling that both batteries are charging. Turn the engine off and crank the music; if the isolator light goes out, you’ve successfully protected your starting power. Finally, use zip ties to secure all loose wiring away from moving parts.
Final Touches
Secure all wiring, replace panels, and tidy up the installation. A clean setup not only looks professional but also prevents wear and tear. Consider adding a battery monitor or voltmeter for real-time tracking of your power levels.
Safety Tips for Installing a UTV Stereo Dual Battery Kit
Always disconnect the negative terminal before wiring
- Use proper fuse ratings to prevent electrical damage
- Never mix battery types unless the kit supports it
- Secure batteries to prevent movement during riding
- Avoid routing wires near exhaust components
Following these safety tips ensures long-term reliability and protects your UTV’s electrical system.
Benefits of a Dual Battery Kit
- Peace of mind: Your UTV always starts, even after long nights of music and lights.
- Extended playtime: Run stereos, coolers, and accessories without worry.
- Durability: Kits are built to withstand mud, dust, and vibration.
- Future-proofing: Compatible with lithium upgrades and smart monitoring systems.
Frequently Asked Questions (FAQs)
Do I really need a UTV stereo dual battery kit?
Yes. High-power UTV stereo systems can drain a single battery quickly. A dual battery kit prevents starting failures.
Can I install a dual battery kit myself?
Most UTV stereo dual battery kits are designed for DIY installation with basic tools and clear instructions.
What battery type is best for UTV stereo systems?
AGM batteries are affordable and durable, while lithium batteries offer lighter weight and faster charging.
Will a dual battery kit charge both batteries automatically?
Yes, when paired with a smart battery isolator, both batteries charge while the engine runs.
Can I power other accessories besides the stereo?
Absolutely. LED lights, winches, GPS units, and chargers can all run from the auxiliary battery.
Enjoy Powerful Audio Without Battery Worries
With a properly installed UTV Stereo Dual Battery Kit, you can enjoy loud, uninterrupted music while protecting your starting battery. This upgrade enhances performance, reliability, and overall riding experience—letting you focus on the trail and the sound, not dead batteries.
Conclusion
Installing a UTV Stereo Dual Battery Kit may sound intimidating, but with the right tools and a step-by-step approach, it’s straightforward. The payoff is huge: reliable power, better performance, and freedom to enjoy your UTV without worrying about dead batteries. Whether you’re blasting tunes on the dunes or powering camp gear in the woods, this upgrade ensures your adventures never skip a beat.