

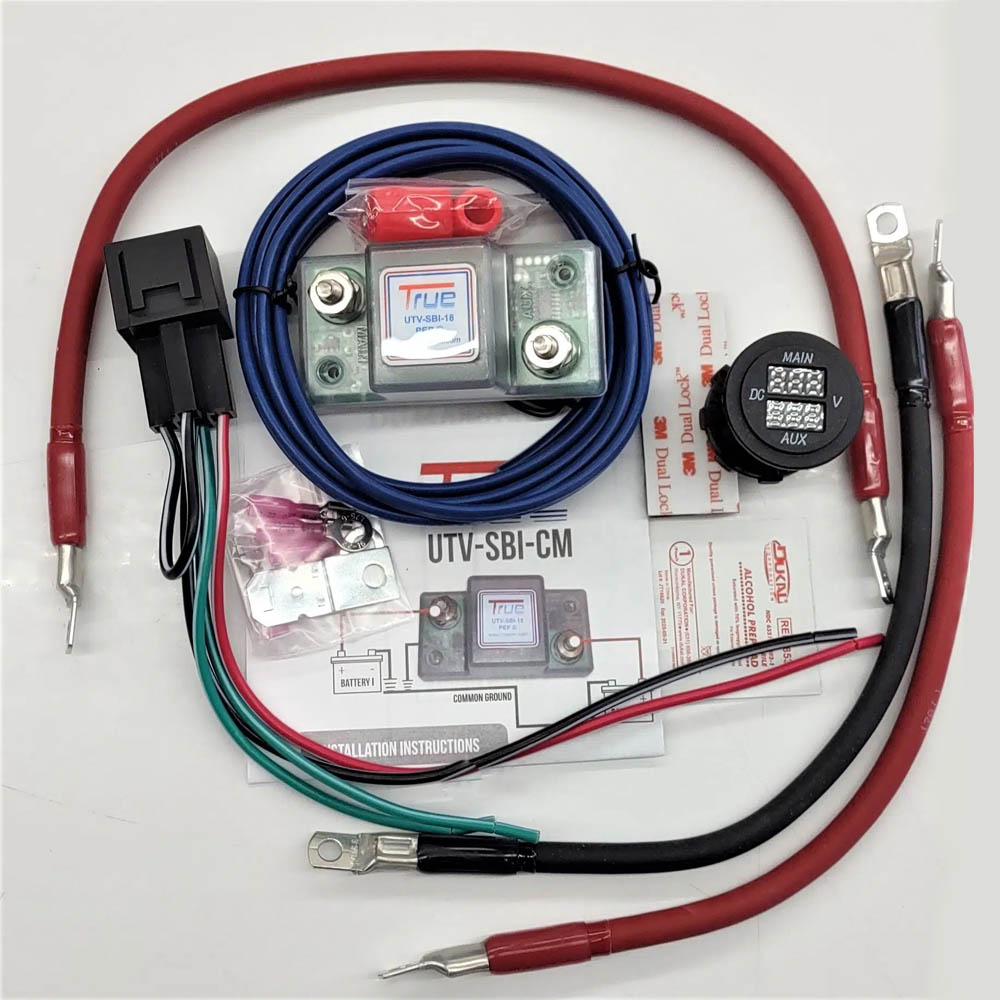
UTV ATV Dual Battery Isolator Kit Wiring Diagram Explained
Installing a utv atv dual battery isolator kit is the most reliable way to run accessories like light bars, winches, audio systems, and refrigerators without risking a dead starting battery. By separating your electrical system into a primary starting battery and an auxiliary house battery, the isolator ensures you can always crank your engine even if your accessories drain the secondary battery.
Understanding the Core Components
A proper dual battery setup relies on a few key elements working together:
- Starting Battery: Dedicated exclusively to cranking the engine and powering stock vehicle electronics.
- Auxiliary Battery: Powers high-draw accessories (winches, audio, LED bars, fridges). Can be AGM or Lithium (LiFePO4).
- Voltage-Sensitive Relay (VSR) / Smart Isolator: Automatically monitors system voltage. When the alternator charges the primary battery above a set threshold (typically around 13.3V to 13.4V), it engages to charge the auxiliary battery. When the engine shuts off and voltage drops, it disconnects the two batteries to protect the starter.
- Heavy-Duty Wiring & Fuses: Typically 4 AWG to 8 AWG copper cables paired with inline fuses or circuit breakers placed as close to each battery positive terminal as possible.
Step-by-Step Wiring Diagram & Layout Explained
Plaintext
       [ ALTERNATOR ]
             │
             ▼
   [ STARTING BATTERY ] <--- (Primary / Crank)
             │
             ├─── [ Inline Fuse ] ─── (To Stock Fuse Box / Ignition)
             │
             │ (Heavy 4-8 AWG Cable)
             │
             ▼
    [ SMART ISOLATOR / VSR ] <--- (Main Terminal / In)
             │
             ├─────────────────────────── [ Ground / Chassis ] (If required for logic)
             │
             ▼ (Auxiliary Terminal / Out)
             │ (Heavy 4-8 AWG Cable)
             │
             ├─── [ Inline Fuse ] ─── [ AUXILIARY BATTERY ] <--- (House / Accessories)
                                              │
                                              ▼
                                    [ Fuse Block / Bus Bar ]
                                              │
                                              ├── Accessories (Winches, Lights, Fridge)
                                              │
                                              ▼
                                    [ Common Ground Bus ]
1. Connecting the Starting Battery
- Run a heavy-gauge positive cable (4 AWG or 8 AWG) from the positive ($+$) terminal of your starting battery to the Main / Input Terminal of your utv atv dual battery isolator kit.
- Place an inline fuse or circuit breaker within 12 inches of the starting battery positive terminal to protect against short circuits along the engine bay run.
2. Mounting and Grounding the Isolator
- Mount the isolator securely to the frame, firewall, or an accessory bracket away from extreme exhaust heat.
- If your specific smart isolator requires a ground wire for internal electronics sensing, run a secure chassis ground to bare, clean metal. (Many units ground automatically through their mounting plate or housing, but always check the manufacturer manual).
3. Connecting the Auxiliary Battery
- Run another matching heavy-gauge positive cable from the Auxiliary / Output Terminal of the isolator to the positive ($+$) terminal of your secondary auxiliary battery.
- Install a second inline fuse near the auxiliary battery’s positive terminal.
- Ground the negative ($-$) terminal of the auxiliary battery directly to the vehicle chassis/engine block or back to the starting battery negative using an equally heavy cable to complete the circuit loop.
4. Distributing Power to Accessories
- Connect the positive feed from your auxiliary battery to a fused accessory block or distribution bus bar.
- Wire all your aftermarket accessories (winches, light pods, communications gear, or dual-battery charging ports) into this dedicated fuse block rather than tapping directly into factory wires.
How the System Operates in the Field
- Engine Off: The isolator rests in an open state. Your accessories draw power only from the auxiliary battery. Your starting battery remains 100% isolated and fully charged for your next ignition turn.
- Engine Start: As you crank the UTV or ATV, the isolator keeps circuits separated to prevent heavy starter motor voltage drops from spiking or draining your accessory bus.
- Engine Running: Once the alternator fires up and pushes system voltage above the engagement threshold (approx. 13.3V–13.4V), the isolator closes its internal relay, combining both batteries so the alternator charges your auxiliary setup while you drive or ride.
Recent Posts
- When Does an Overlanding 4Runner Actually Need a Dual Battery Kit?
- When Should You Upgrade Your 4Runner to a Dual Battery System?
- What to Look for in a Dual Battery Kit for Truck: Essential Features Explained
- How to Choose the Best GM Dual Battery Kit for Your Truck or SUV
- Why a Modified GMT400 May Need a GMT400 Dual Battery Kit
- From Battery Isolators to Intelligent Power Management: Where Automotive Technology Is Heading
- When Should You Upgrade to a GMT800 Dual Battery Kit vs. Running a High-Output Alternator Alone?
- Electric Cars Still Have 12V Batteries—So Where Does a Battery Isolator Fit?
- The Architecture and Function of Smart Battery Isolators