

Tools and Supplies Needed Before Starting UTV Dual Battery Kit Installation
Installing a UTV dual battery kit can provide reliable auxiliary power for accessories such as winches, LED light bars, radios, GPS systems, and other off-road equipment. Before starting a UTV dual battery kit installation, however, having the right tools and supplies ready can make the process easier, cleaner, and safer.
Whether you are installing a dual battery system on a Polaris, Can-Am, Honda, Yamaha, Kawasaki, CFMOTO, or another UTV, preparation is an important part of achieving a dependable electrical setup.
Basic Tools for UTV Dual Battery Kit Installation
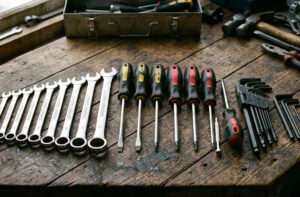 Start by preparing the basic hand tools needed to access the battery compartment and secure the components. A socket set, combination wrenches, screwdrivers, and hex keys can help with removing panels, battery terminals, brackets, and existing hardware.
A wire stripper and crimping tool are also useful when working with battery cables and electrical connections. If your UTV dual battery kit includes pre-terminated cables, these tools may have limited use, but they are still helpful for making adjustments or securing additional connections.
A multimeter is another important tool. It can be used to check battery voltage and verify that electrical connections are functioning correctly. Voltage testing is particularly useful when working with a dual battery isolator because it helps confirm the condition of both the starting and auxiliary batteries.
Electrical Supplies You May Need
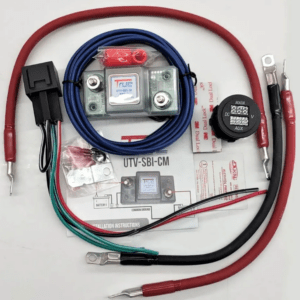
The exact supplies depend on the specific UTV dual battery kit, but common components include battery cables, terminals, connectors, fuses or circuit protection, wiring, mounting hardware, and TrueAm dual battery isolator kit.
When selecting cables, pay attention to the correct wire gauge for the expected electrical load and cable length. Undersized wiring can create excessive voltage drop and unwanted heat, while properly sized cables help support reliable current flow between the batteries and electrical components.
Heat-shrink tubing, electrical tape, cable loom, and cable ties can also help organize and protect wiring from abrasion, vibration, moisture, and dirt commonly encountered during off-road riding.
Battery and Battery Mounting Supplies
Before installation, make sure the auxiliary battery is compatible with the UTV and the dual battery system. Depending on the application, the system may use an AGM battery or LiFePO4 lithium battery.
You should also have the appropriate battery tray, mounting bracket, or secure mounting hardware. The auxiliary battery needs to be firmly secured because UTVs experience significant vibration and movement on rough trails.
For lithium battery applications, confirm that the selected UTV battery isolator and charging system are compatible with the battery chemistry.
Safety Equipment
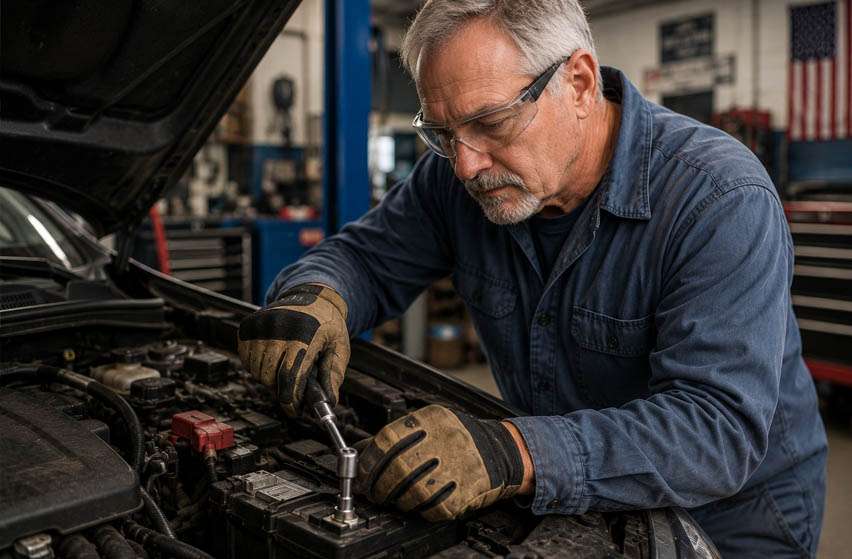
 Safety should also be part of your preparation. Wear safety glasses and appropriate gloves when handling batteries and electrical connections. Keep metal tools away from exposed battery terminals whenever possible to reduce the risk of accidental short circuits.
Before beginning work, turn off the UTV and follow the battery and kit manufacturer’s instructions. Avoid rushing the installation, and make sure wiring is properly routed away from moving parts, excessive heat, and sharp edges.
Prepare Before You Install
Having the correct tools and supplies before beginning a UTV dual battery kit installation can save time and help create a cleaner, more reliable electrical system. A quality dual battery isolator, properly sized cables, secure battery mounting, protected wiring, and appropriate testing equipment are all important parts of a successful installation.
Proper preparation also makes it easier to build a UTV electrical system capable of supporting demanding accessories while keeping the primary starting battery protected for reliable engine starting.