

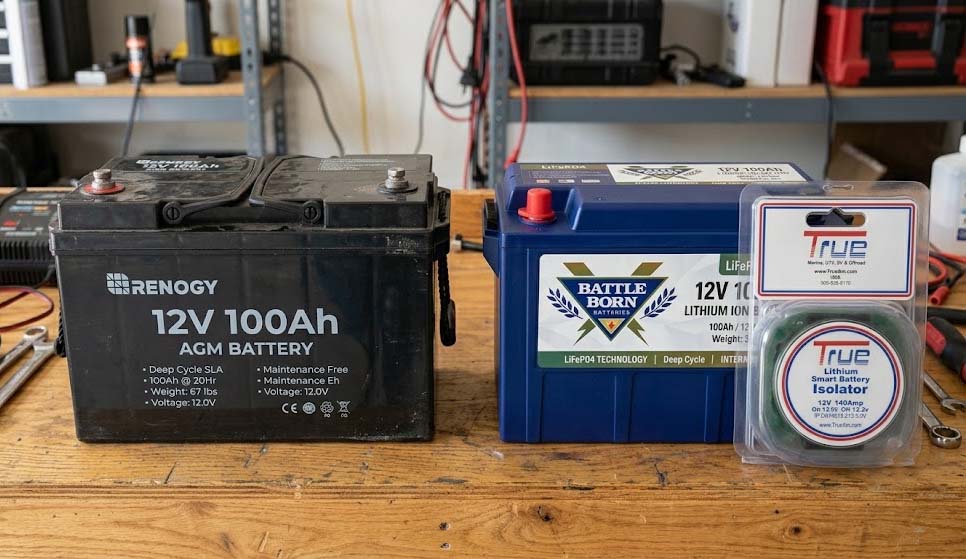
Upgrading Your Auxiliary Car Battery Installation Kit from AGM to Lithium (LiFePO4)
If you’re considering upgrading your auxiliary car battery installation kit from an AGM battery to a Lithium Iron Phosphate (LiFePO4) battery, you’re making a smart investment in performance, weight savings, and longevity. As more 4WD owners, overlanders, RV enthusiasts, and off-road adventurers switch to lithium power, it’s important to understand the changes required to ensure your dual battery system operates safely and efficiently.
Why Upgrade from AGM to LiFePO4?
AGM batteries have been the standard for auxiliary power systems for years, but LiFePO4 batteries offer several significant advantages.
Why LiFePO4 Outperforms AGM
- Weight: LiFePO4 batteries are typically 40–60% lighter than comparable AGM units, reducing overall vehicle load.
- Charge Speed: Lithium chemistry accepts charge current far more readily than AGM, shortening recharge time during normal driving.
- Usable Capacity: While AGM batteries are generally limited to ~50% depth of discharge, LiFePO4 batteries can be discharged to 80–100% without meaningfully impacting longevity.
- Cycle Life: LiFePO4 batteries commonly exceed 3,000 charge cycles, compared to 300–800 for AGM — a substantial difference in long-term value.
Compatibility Considerations
Not all AGM-rated installation kits are suitable for lithium batteries. LiFePO4 charging profiles differ from AGM, and mismatched lithium battery isolators or charging systems can lead to incomplete charging or premature battery degradation. Before upgrading, verify your kit includes:
- A lithium-compatible smart battery isolator like True brand
- Correct charging voltage support for LiFePO4 chemistry
- Wiring rated for the charging current
- Quality terminals and fusing
- Waterproof, vibration-resistant components for off-road conditions
| Feature | AGM Auxiliary | LiFePO4 Auxiliary |
| Usable Capacity | 50% (50Ah out of a 100Ah battery) | 80% to 100% (80–100Ah usable) |
| Weight (per 100Ah) | ~60–70 lbs | ~22–28 lbs |
| Lifespan | 300–500 cycles (2–4 years) | 3,000–5,000+ cycles (8–10+ years) |
| Alternator Connection | VSR / Solenoid or DC-DC | DC-to-DC Charger Required |
| Resting Voltage | ~12.6V – 12.8V | ~13.3V – 13.4V |
 Components Likely Requiring an Upgrade
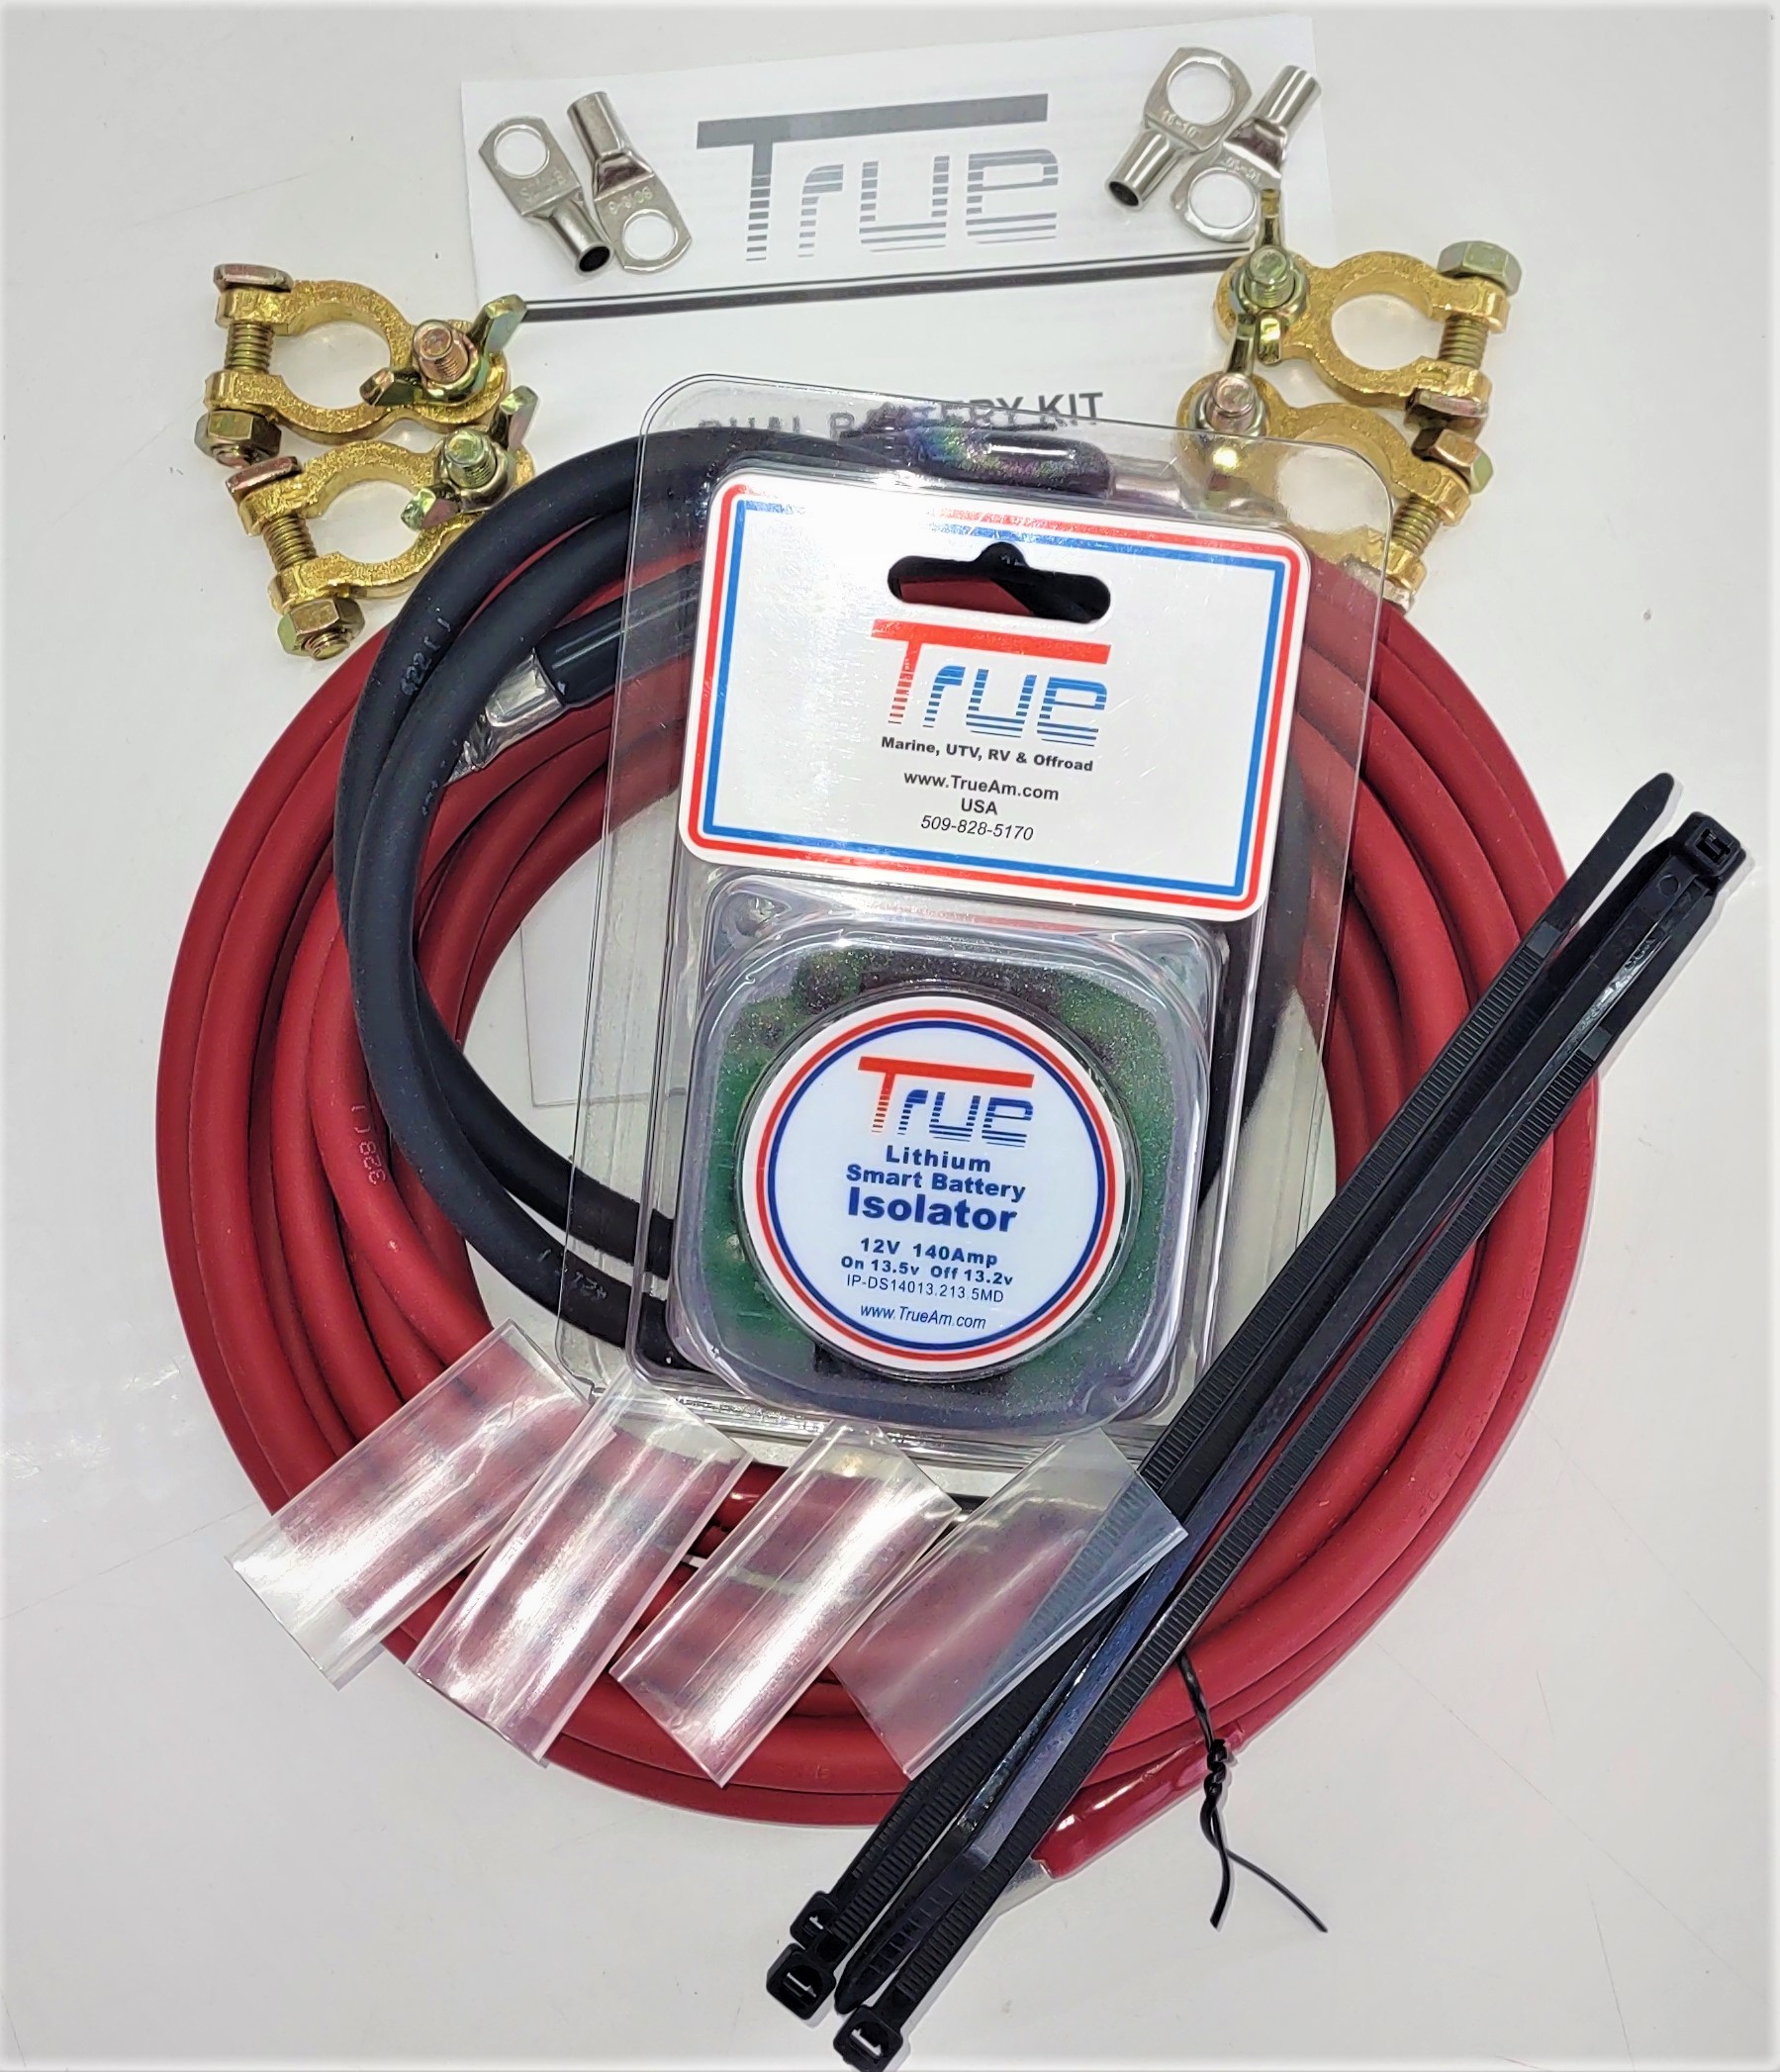
- Smart Battery Isolator: A standard voltage-sensitive relay is typically not optimized for lithium charging; a True lithium battery isolator is essential.
- Battery Cables: Confirm gauge and condition; undersized or degraded cabling increases voltage drop and reduces charging efficiency. No worries as all lithium dual battery kits are complete with installation kit.
- Battery Tray/Mounting: LiFePO4 units are often smaller and lighter — ensure the tray still secures the battery firmly, especially off-road.
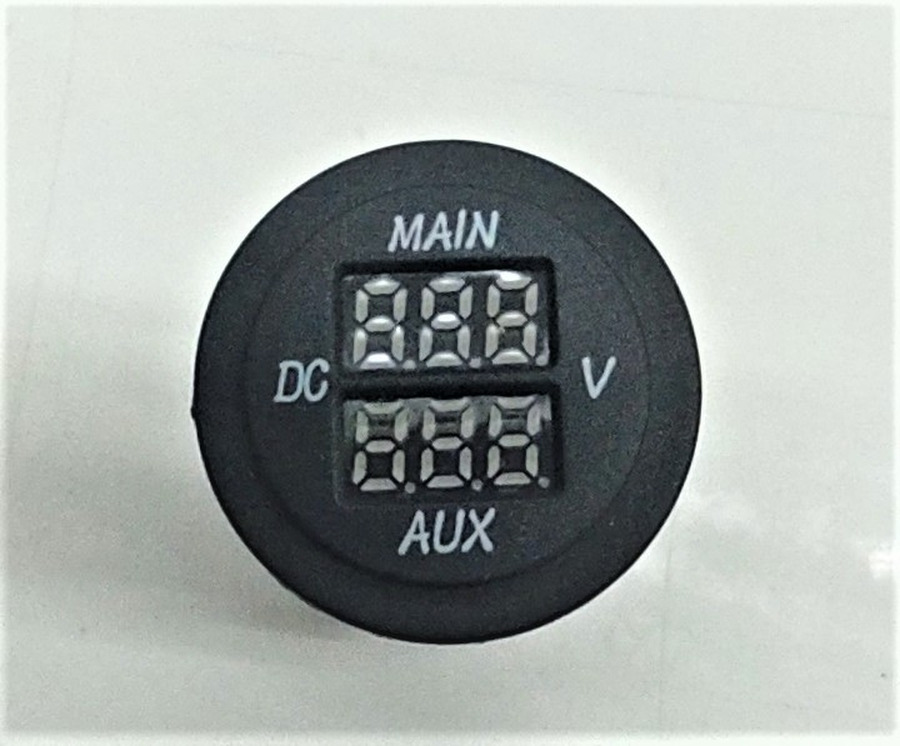
- Battery Monitoring: A dual battery voltmeter or monitor lets you track charging status and health across both batteries. The True dual voltmeter is functional with either lithium and AGM batteries.
Benefits of a Lithium Auxiliary Battery System
After upgrading, you’ll notice several improvements:
- Faster recharge while driving
- Longer runtime for camping accessories
- Reduced vehicle weight
- More usable battery capacity
- Longer battery lifespan
- Better performance for refrigerators, inverters, lighting, and air compressors
- Lower long-term maintenance costs
Is the Upgrade Worth It?
For users running fridges, inverters, lighting, communications gear, or recovery equipment off an auxiliary battery, LiFePO4 delivers a clear performance and longevity advantage despite the higher upfront cost. Occasional users with minimal auxiliary power needs may find AGM still sufficient.
What to Look for in a Kit
- LiFePO4 compatibility
- Original True lithium battery isolator kit
- Plug-and-play installation
- Heavy-duty cabling and connectors
- Waterproof housing
- Automatic battery protection
- Compatibility with your vehicle’s charging system
The 3 Non-Negotiable Rules for the Upgrade
The Big Takeaway: The single most important change is swapping your old isolator/VSR for a DC-to-DC charger. Without a DC-DC charger, your lithium battery will overwork your alternator and never fully charge.
1. Replace Your Isolator/VSR with a DC-to-DC Charger
-
Why AGM used VSRs: Standard Voltage Sensitive Relays (VSRs) or smart solenoids simply link your starter battery and AGM battery together when the engine is running.
-
Why Lithium needs a DC-to-DC Charger: LiFePO4 batteries have extremely low internal resistance. If tied directly to the alternator via a VSR, the lithium battery will pull as much current as possible, which can overheat or burn out your vehicle’s alternator. Additionally, standard alternators do not supply the precise 14.2V–14.6V constant voltage required to charge lithium to 100%.
2. Check Temperature Limits & Battery Placement
-
Keep out of extreme heat: AGM batteries can live under the hood, but engine bay temperatures often exceed 140°F (60°C), which degrades LiFePO4 cells and trips their internal BMS (Battery Management System).
-
Watch out for freezing: LiFePO4 batteries cannot be charged below 32°F (0°C) without permanent chemical damage unless the battery has a built-in low-temp heating pad. Mount your new lithium battery inside the cabin, bed, or a insulated compartment.
3. Reconfigure Solar & Shore Power Chargers
If your kit includes an MPPT solar controller or an AC-to-DC shore power charger, change their dip switches or app settings from “AGM/Sealed” to “Lithium / LiFePO4”. AGM charging profiles include an “equalization” mode (high voltage spikes) that will cause a lithium battery’s BMS to trigger a safety shutdown.
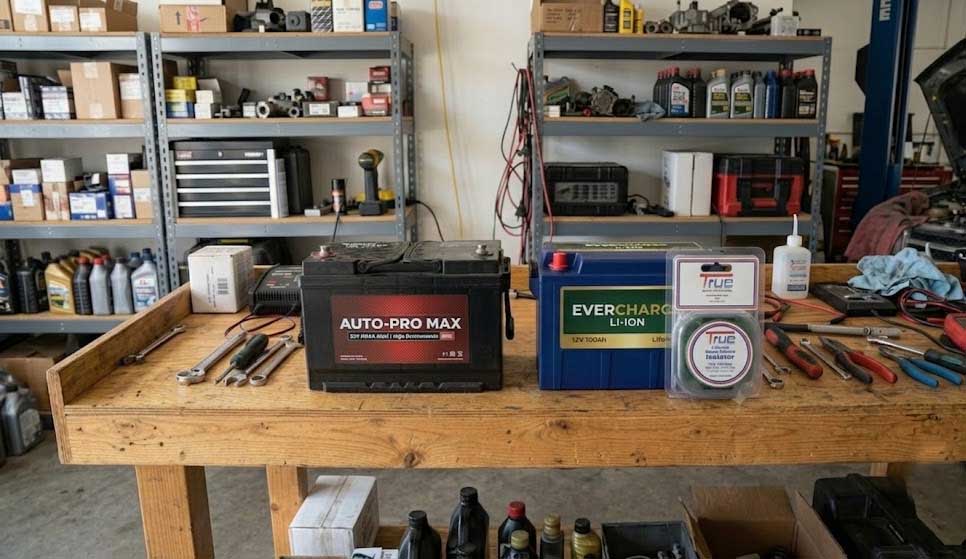
Step-by-Step Upgrade Procedure
Previous posts:
- Upgrading Your Auxiliary Car Battery Installation Kit from AGM to Lithium (LiFePO4)
- Top 10 Best UTV Trails in Connecticut and Nearby States for Every Off-Road Adventure
- Seasonal Riding: Best Michigan UTV Trails by Season
- Dual Battery Setup with Isolator Kits vs. Portable Power Stations: Why an Integrated Kit Beats a “Solar Generator” for Trucks
- A Complete Guide in Selecting High-Quality Golf Cart Battery Cables for Maximum Performance
- How to keep battery terminals from corroding
- Why Dead Batteries Are Common in Accessory-Loaded UTVs
- How Battery Isolators Improve Electrical Safety in Modified Vehicles
- The Hidden Risks of Running Multiple UTV Accessories Without Proper Battery Isolation
- Step-by-Step DIY: How to Install a 12V Dual Battery System in Toyota Prado Using True® Isolator Kit
Other products
- Yamaha Dual Battery Kit
- Dodge Ram Dual Battery Kit
- Can Am Dual Battery Kit
- Jeep Battery Isolator Kit
- 4runner dual battery kit
- Wrangler Dual battery setup
- Land Rover dual battery setup
- utv stereo dual battery kit
- rv dual battery kit